Gcore Everywhere Inference runs custom AI models from container images. This article covers containerizing a model with vLLM or Diffusers, pushing the image to a registry, and deploying it.Documentation Index
Fetch the complete documentation index at: https://gcore.com/docs/llms.txt
Use this file to discover all available pages before exploring further.
Train, test, and optimize the model for inference
Before packaging a model into a container, train, validate, and optimize it for inference. Apply techniques such as quantization, pruning, or distillation to reduce computational load.Containerization
To deploy an AI model, it must be packaged into a container image that meets industry standards. While there are no strict structural requirements, the image must be compatible with the target registry and deployment environment.vLLM
vLLM is a library for large language model inference and serving. It features PagedAttention for memory efficiency, continuous batching, and acceleration via CUDA/HIP graphs and FlashAttention. It supports speculative decoding, chunked prefill, and multiple quantization formats (GPTQ, AWQ, INT4, INT8, FP8).Step 1. Choose a base image
vLLM integrates with Hugging Face and other model repositories. The latest vLLM images are available in the Docker Hub repository. Use the official vLLM base image that supports the required model architecture:Step 2. Modify and build the image
To include a specific model from Hugging Face, update the container with the required model and build the image:
linux/amd64 architecture, preventing compatibility issues on x86-64 servers.
Step 3. Push to registry
After building the image, push it to a registry:
Configuration options
vLLM provides options to adjust performance and behavior. Notable configurations include:| Parameter | Example | Description |
|---|---|---|
--trust-remote-code | vllm serve state-spaces/mamba-130m-hf --trust-remote-code --host 0.0.0.0 --port 80 | Allows running models that rely on custom Python code from Hugging Face’s Model Hub. By default, this setting is False, meaning vLLM will not execute any remote code unless explicitly allowed. |
--max-model-len | vllm serve state-spaces/mamba-130m-hf --max-model-len 2048 --host 0.0.0.0 --port 80 | Sets the maximum number of tokens the model can process in a single request. This helps control memory usage and ensures proper processing of long texts. |
--tensor-parallel-size | vllm serve state-spaces/mamba-130m-hf --tensor-parallel-size 4 --host 0.0.0.0 --port 80 | Splits the model tensors across multiple GPUs to balance memory usage and allow larger models to fit into available hardware. |
--enable-prefix-caching | vllm serve state-spaces/mamba-130m-hf --enable-prefix-caching --host 0.0.0.0 --port 80 | Improves efficiency by caching repeated prompt prefixes to reduce redundant computations and speed up inference for similar queries. |
--served-model-name | vllm serve state-spaces/mamba-130m-hf --served-model-name custom-model --host 0.0.0.0 --port 80 | Specifies a custom name for the deployed model, making it easier to reference in API requests. |
--enable-reasoning | vllm serve deepseek-ai/DeepSeek-R1-Distill-Qwen-1.5B --enable-reasoning --reasoning-parser deepseek_r1 --host 0.0.0.0 --port 80 | Enables reasoning mode, allowing models to provide intermediate reasoning steps for better insight into the decision-making process. Requires --reasoning-parser to extract reasoning content from the model output. |
Diffusers
Diffusers is a library for running diffusion-based image generation models. Unlike vLLM, it lacks a built-in serving interface, so inference code must be implemented separately. The environment must include CUDA, cuDNN, and PyTorch. Models are available on the Hugging Face model hub.Step 1. Choose a base image
Instead of building from scratch, use official images from the NVIDIA NGC AI Catalog or PyTorch. The following Dockerfile starts with a PyTorch base image and installs Diffusers:Step 2. Implement an inference API
An API must be implemented since diffusers don’t include a built-in inference server. The following script loads a Stable Diffusion model, accepts a text prompt via API, and returns a generated image.Step 3. Create a Dockerfile
The Dockerfile includes Diffusers and the API service. If the model requires authentication, provide the token in the Dockerfile.Step 4. Push to registry
After building the container, push it to a registry for deployment:
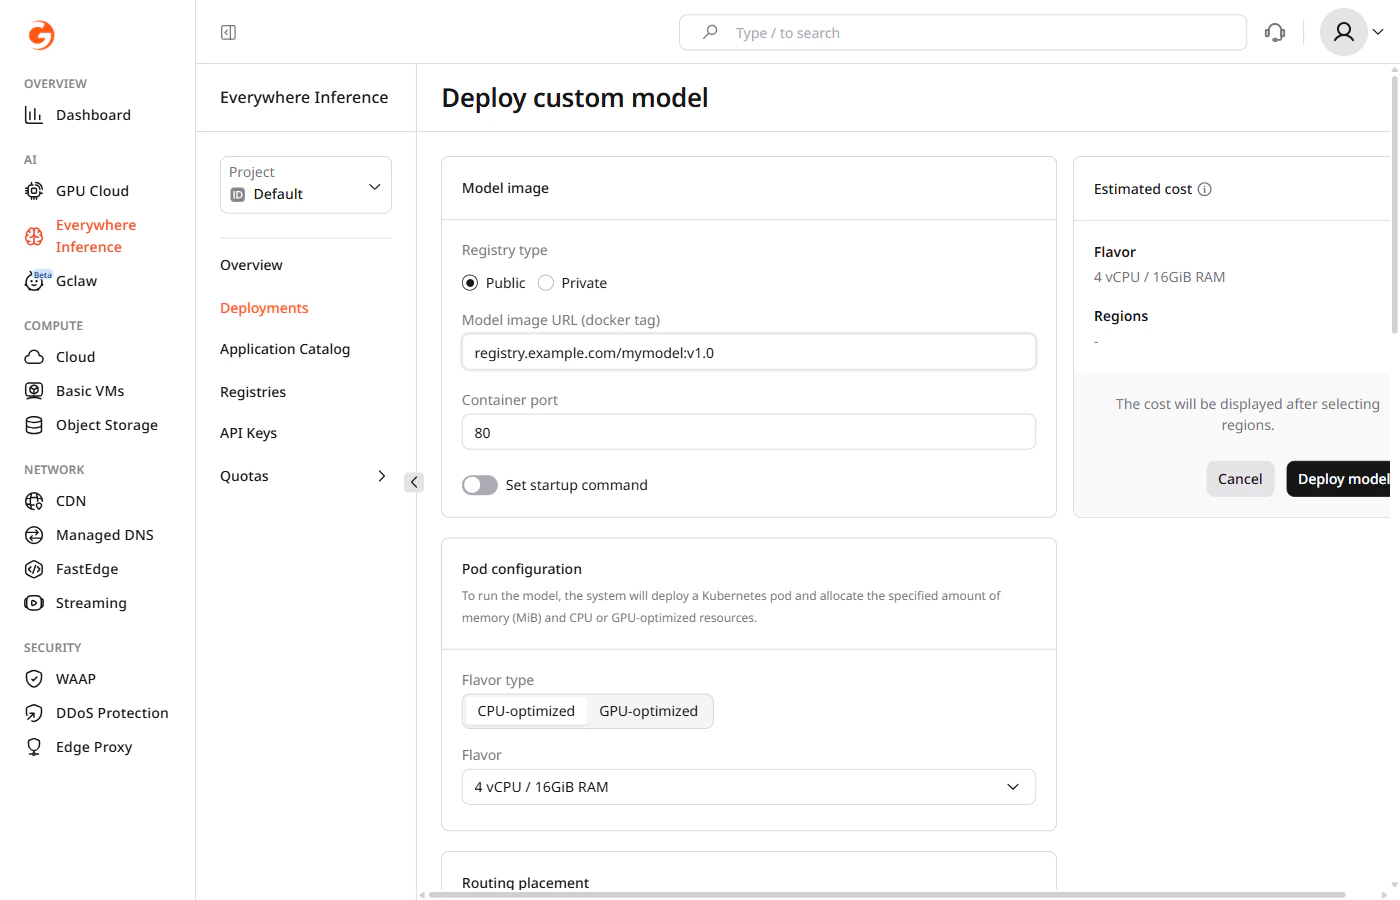
Deployment
After uploading the container to a registry, deploy it using the Deploy a custom model guide. During deployment, enter the model image URL from the registry. For a private registry, provide authentication credentials — URL, username, and password — as described in adding a container image registry.